Comprehensive Guide to Resurfacing Brake Rotors on Your Toyota

When undertaking the task of resurfacing brake rotors on your Toyota, it is crucial to adhere to a methodical approach to ensure both safety and efficacy. Initially, the appropriate selection and setup of a lathe are imperative; this includes verifying that the rotor is mounted securely and that the cutting tools are calibrated precisely to achieve an even surface without compromising the integrity of the rotor. As you progress through these initial steps, one must consider the intricate balance between removing enough material to create a smooth surface and retaining sufficient rotor thickness, as specified by Toyota’s guidelines. The continuation of this process involves critical measurements and adjustments, details of which are essential for maintaining the vehicle’s braking reliability and performance.
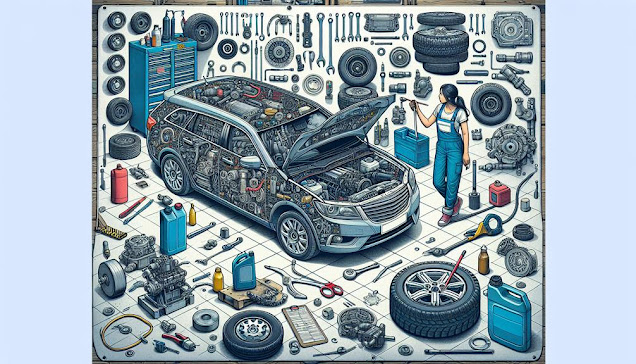
Preparing Your Workspace
Before resurfacing the brake rotors on your Toyota, ensure that your workspace is clean, well-lit, and equipped with the necessary tools and safety equipment. A clutter-free environment minimizes the risk of accidents and ensures you can easily locate and utilize your tools. Adequate lighting is crucial for identifying wear patterns and imperfections on the rotors, which is a key aspect of the resurfacing process.
Ensure that you have a sturdy workbench and a vise to securely hold the rotor during inspection and resurfacing. Gather all necessary tools, including a micrometer for measuring rotor thickness, a dial indicator to check for runout, and a torque wrench for reassembly. It’s also important to have safety glasses and gloves to protect against metal filings and dust.
Additionally, create a checklist of all tools and equipment before starting. This not only helps in organizing your workflow but also fosters a sense of preparedness and belonging among fellow DIY enthusiasts who share the commitment to precision and safety. Engaging in this preparation stage effectively sets the stage for a successful resurfacing task, ensuring that you are part of a community that values thoroughness and attention to detail.
https://medium.com/@starautomotivellc123/when-and-why-you-should-perform-a-brake-fluid-flush-on-your-toyota-09cddad6cc34
Resurfacing Process Steps
Having prepared your workspace and gathered the necessary tools, the next step is to begin the actual process of resurfacing the brake rotors.
Mounting the Rotor: Securely mount the rotor onto the lathe. Ensure it is perfectly centered to avoid any uneven cuts which can lead to vibrations or braking issues. Proper alignment is crucial for achieving a smooth and even surface.
Setting the Lathe: Set the cutting tip of the lathe to barely touch the surface of the rotor. Start the lathe at a low speed to minimize any potential heat buildup, which can warp the rotor. Gradually increase the depth of cut, checking frequently to measure the amount of material being removed. It’s crucial to remove only the minimum amount necessary to achieve a smooth surface, typically no more than a few thousandths of an inch.
First Pass Inspection: Once the first pass is complete, inspect the rotor for any scoring or grooves. If necessary, perform additional passes, each time slightly adjusting the cutting depth. Ensuring a smooth finish on the rotor is essential for optimal braking performance.
Final Measurements: After achieving a satisfactory finish, remove the rotor from the lathe and use a micrometer to verify that it meets the manufacturer’s minimum thickness specification. Ensuring the rotor is within the specified thickness is critical for safety and performance.
This precise approach not only extends the life of your Toyota’s rotors but also ensures you remain a proud member of the responsible Toyota owners community, maintaining optimal vehicle safety and performance.
The meticulous art of resurfacing brake rotors is akin to performing surgery on the very heart of your Toyota’s braking system. Each precise turn of the lathe and calculated pass over the rotor’s surface not only restores its condition but also ensures significant enhancements in vehicle safety and performance. Adhering to the specified protocols transforms an ordinary garage into a temple of technical excellence, where every rotor emerges renewed and ready to face thousands of miles with restored efficiency and safety.
By following these detailed steps, you can maintain the high standards of performance and safety that Toyota vehicles are known for, contributing to the longevity and reliability of your car’s braking system. This meticulous process ensures that you, as a Toyota owner, are part of a community that values precision, safety, and excellence in vehicle maintenance.
.jpg)

Comments
Post a Comment