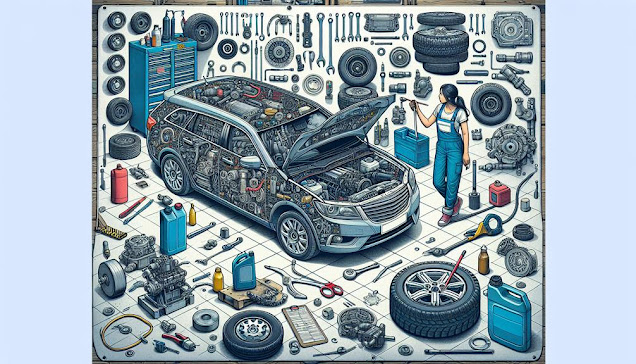
Step-by-Step Instructions for First-Time Oil Changers
Starting your first oil change may seem intimidating, but with the right tools, a clear understanding of the process, and careful attention to detail, it can be a rewarding experience. Every step, from safely lifting your car to properly disposing of used oil, plays a vital role in keeping your engine in top condition and prolonging your vehicle’s life. This guide will walk you through the essential tools and provide a detailed, easy-to-follow breakdown of the process—from draining old oil to replacing the filter and adding new oil. By following these steps, you’ll feel empowered to complete an oil change confidently, ensuring your car runs smoothly and efficiently.
Gather the Right Tools
Before you start, make sure you have all the necessary tools to make the process smooth and safe.
First, you’ll need to get a high-quality oil filter that matches your vehicle’s make and model, along with the correct type and amount of motor oil as outlined in your owner’s manual. Important tools include an oil filter wrench, a socket set, and a funnel to pour the new oil into the engine without making a mess. You’ll also need an oil drain pan to collect the old oil for proper disposal, preventing any environmental harm.
Safety should always come first, so make sure to have durable gloves and safety goggles to protect yourself from oil splashes and burns. To lift the car, use a jack and jack stands, ensuring the vehicle is raised securely for easy access to the oil pan. It’s also handy to have a clean rag or shop towels to wipe away any oil spills and keep your workspace clean.
When it comes to disposing of used oil, follow local regulations, which often involve recycling centers that accept motor oil. Being prepared in this way shows responsibility toward both your vehicle and the environment, values that many car enthusiasts share.
How to Perform the Oil Change
To start, use the jack and jack stands to lift the car securely on a flat surface. Always double-check that the vehicle is stable before you proceed with the oil change.
Next, place the oil drain pan under the oil drain plug, which you’ll find at the base of the oil pan. Use a wrench to loosen and remove the drain plug carefully, allowing the oil to flow into the pan. Be patient, as it can take a few minutes for all the oil to drain completely.
Once the oil is drained, reattach the drain plug tightly, but don’t overtighten it to avoid damaging the threads.
Now, find the oil filter, which is usually close to the oil pan. Remove the old filter using the oil filter wrench. Before installing the new filter, apply a thin coat of fresh oil to the rubber gasket to ensure a good seal. Hand-tighten the new filter until it’s secure but not overly tight.
In summary, performing an oil change is like a well-practiced routine that requires accuracy and care at every step. With the right preparation and a focus on the details, the process becomes straightforward and manageable. Completing each task properly not only keeps your vehicle running at its best but also enhances its overall performance—just like how a well-tuned instrument delivers beautiful music. Following these guidelines ensures that your car stays in optimal condition for the long run.


Comments
Post a Comment